-How To-
Create a
Gallery Wall
Below are some tips for getting the most of your photo display.
-
1. Cropping Photos
Cropping lets you call attention to your images while eliminating anything that doesn't belong. To try different crops, use four lengths of black construction paper, and place them over the image.
-
3. Focal Point
Have a focal point. The center of the display should be at eye level. 66" off the ground is a good rule of thumb.
-
2. Restoring Old Photos
Most copy and photo centers will work with you to eliminate spots, tears, and color deterioration. If you have a computer and a scanner/printer, you can do it yourself.
-
4. Wall Color
Wall color plays a key role in the way photographs look. Take a hint from museums and galleries, and use wall color to highlight accent colors, creating drama.
-
5. Wall & Frame Care
To protect walls and your photographs use frame hangers, which are sturdier than traditional wall hangers, and felt disks to prevent scratches and nicks.
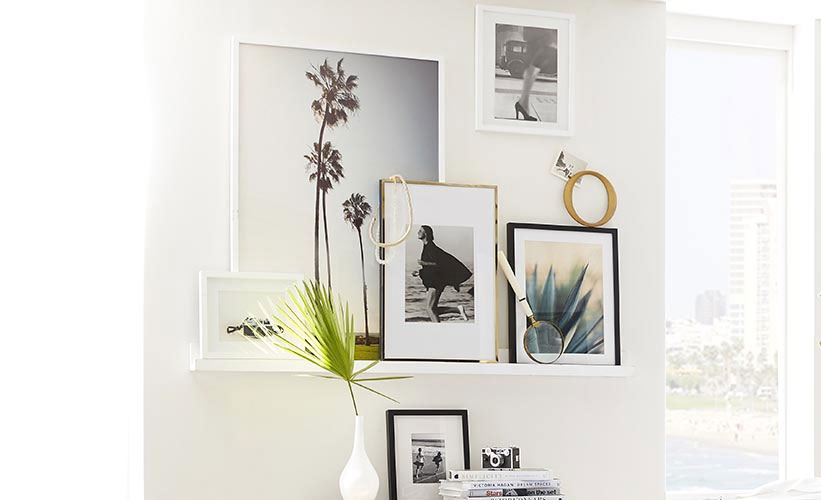
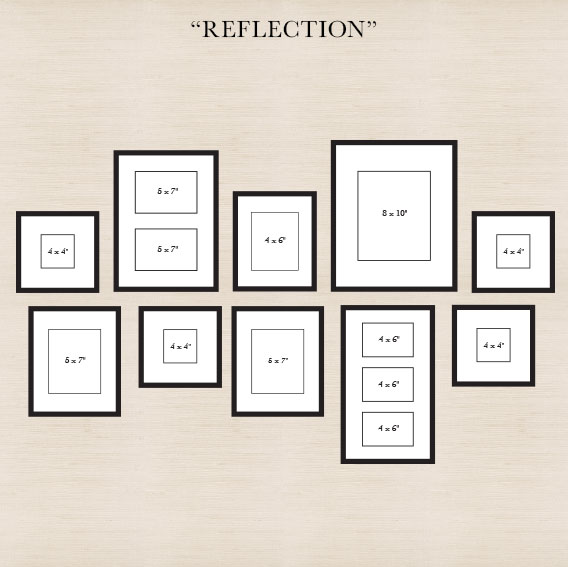
Ideas for Wall Moments
To create the grid, start by placing the center frame,
then place the four larger frames, followed by the rest.
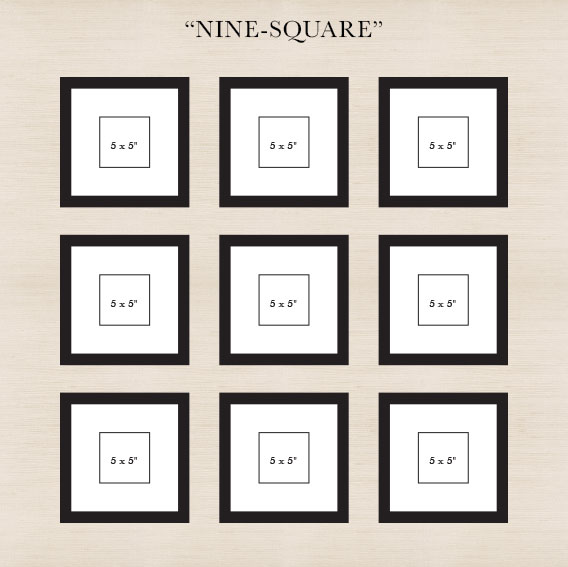
Even though it's one of the easiest frame displays to do,
the impact of this grid layout is great. Simply make sure
you have an even amount of space between each frame.
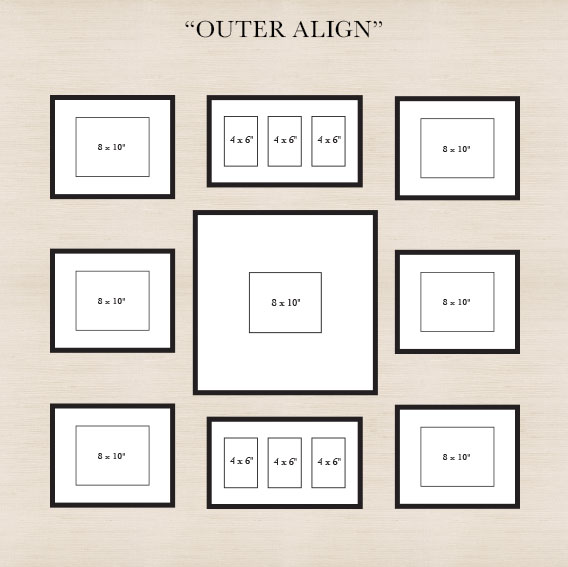
This frame display aligns at the outer edges, creating balance —
even though the distance between frames varies.
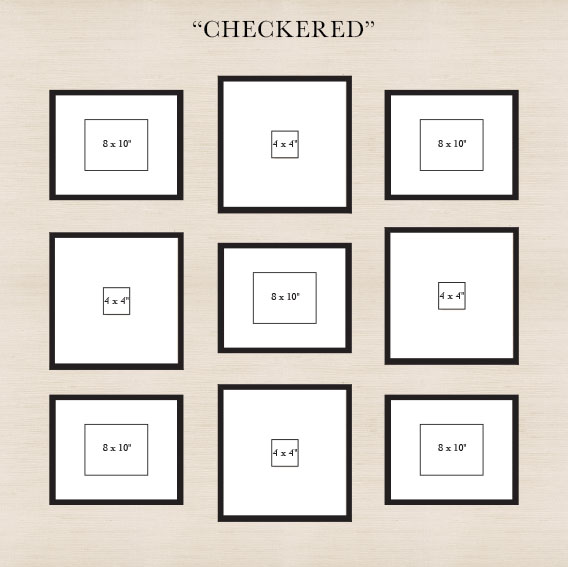
Scatter various-sized frames in an arrangement-but
ensure to align the bottoms and tops to create order.
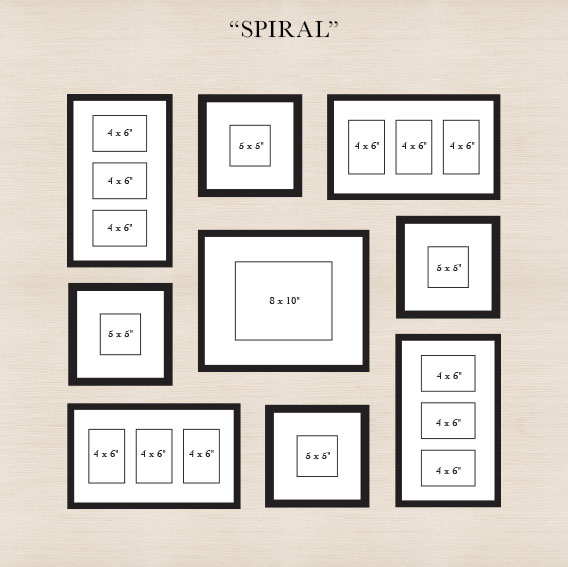
Start by placing the center frame, then spiral out the other
frames. Make sure there is an even amount of space between
all of the other frames and the center frame.
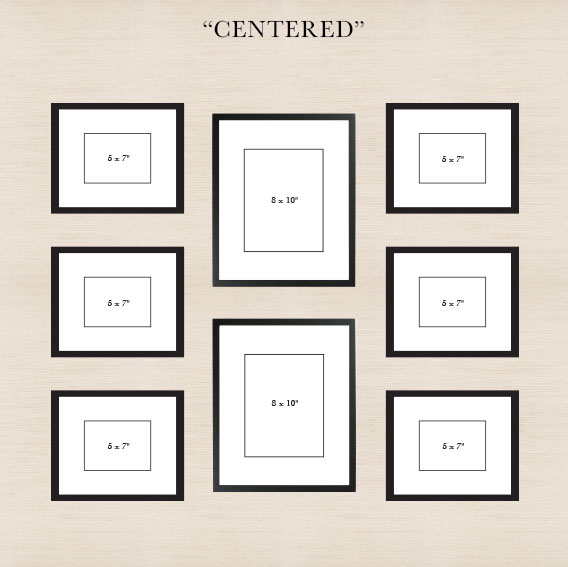
Center the two frames in the middle, then align the left and
right sides with one another to create this balanced display.